DIY Magnetic Brush Holder /Stand Tutorial After trying to use flexible magnetic strip / tape to magn
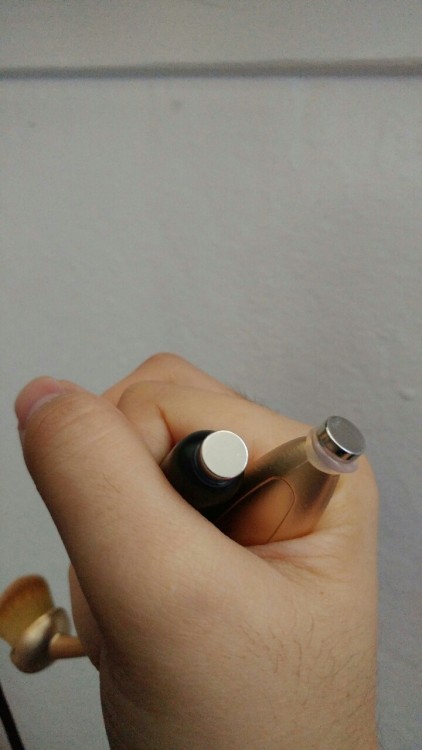
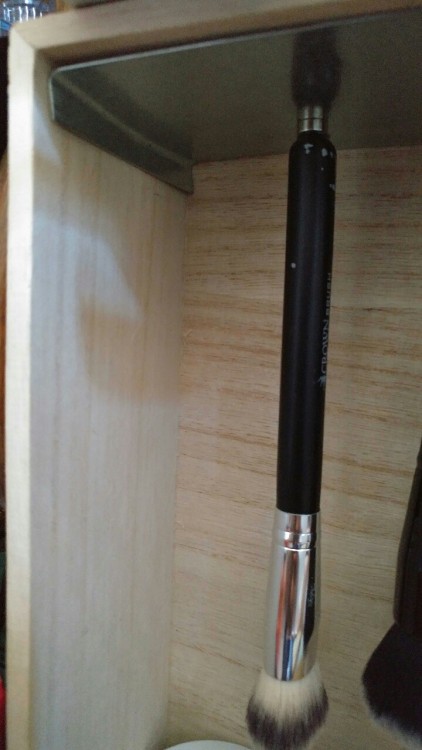
DIY Magnetic Brush Holder /Stand Tutorial After trying to use flexible magnetic strip / tape to magnetize, I decided to spring for the special neodymium magnets and I am very happy with the results. I didn’t sand or cut any part of the brushes. The hot glue works well as a base if the magnets aren’t too big or strong. This design is great for people who wash their brushes often. I didn’t want to put my brushes in a jar because my room gets dusty quickly and I don’t want the dust on my brushes. I cringe a little every time I see people store their brushes in a jar. I used to put them in a drawer but they were overcrowded. I am downsizng my collection so it will take up less space. One of the downsides is that I can’t magnetize my small brushes, but I don’t mind that at all. This project is not good for people who have a ton of brushes they actually use. I keep my unused brushes seperately and spot clean my brushes often. The cost for this tutorial was close to the price of buying a base from pony effects. I hadn’t calculated that before hand. After trying the project I can safely say that the base is up to you and that hot gluing magnets to the end of my brushes was very easy. Post your project! I want to see what other people come up with. Materials: Hot glue gun - plus glue, low temp worked well for me. High temp might damage the magnets, not too sure. $7 Neodymium magnets - not, ceramic magnets, found at hardware stores, home depot, I got the smallest size and they’re perfect. The bigger ones might be too powerful. $4 Steel plate - acts a magnetized surface. galvanized, 1 square foot , 28 gauge (smaller # means thick, large # means thin) at home depot $8 Tin snips - big scissors that cuts thin metal. A good investment if magnetizing other stuff with remaining materials. Hardware stores, harbor freight tools $12 ?I got these a while ago. guage Large filer or sandpaper - something to sand the sharp edges after cutting. This is important. Wooden box - the easiest base for this project. This was perfect because it fit my brushes and the steel plate. You can get creative as long as its not a cardboard box. $8 Pliers - for bending the edges to fit the box. Everyone should already have pliers. Small screwdriver - placing the magnets on straight was difficult. I used a small screwdriver to help place the magnet onto the glop of glue. This was so easy. I was surprised that I hadn’t seen more tutorials in this. To reposition the magnets, I used the remaining neodymium magnets to pull off the one on the brush. Other tips: - work quickly with hot glue - allow glue to dry before testing - Do not place brushes too close together. -neodymium magnets are powerful. They must be slid off each other rather than pulled off. -- source link
#tutorial#magnetic brushes#makeup organizer#diy ideas#brush holder


