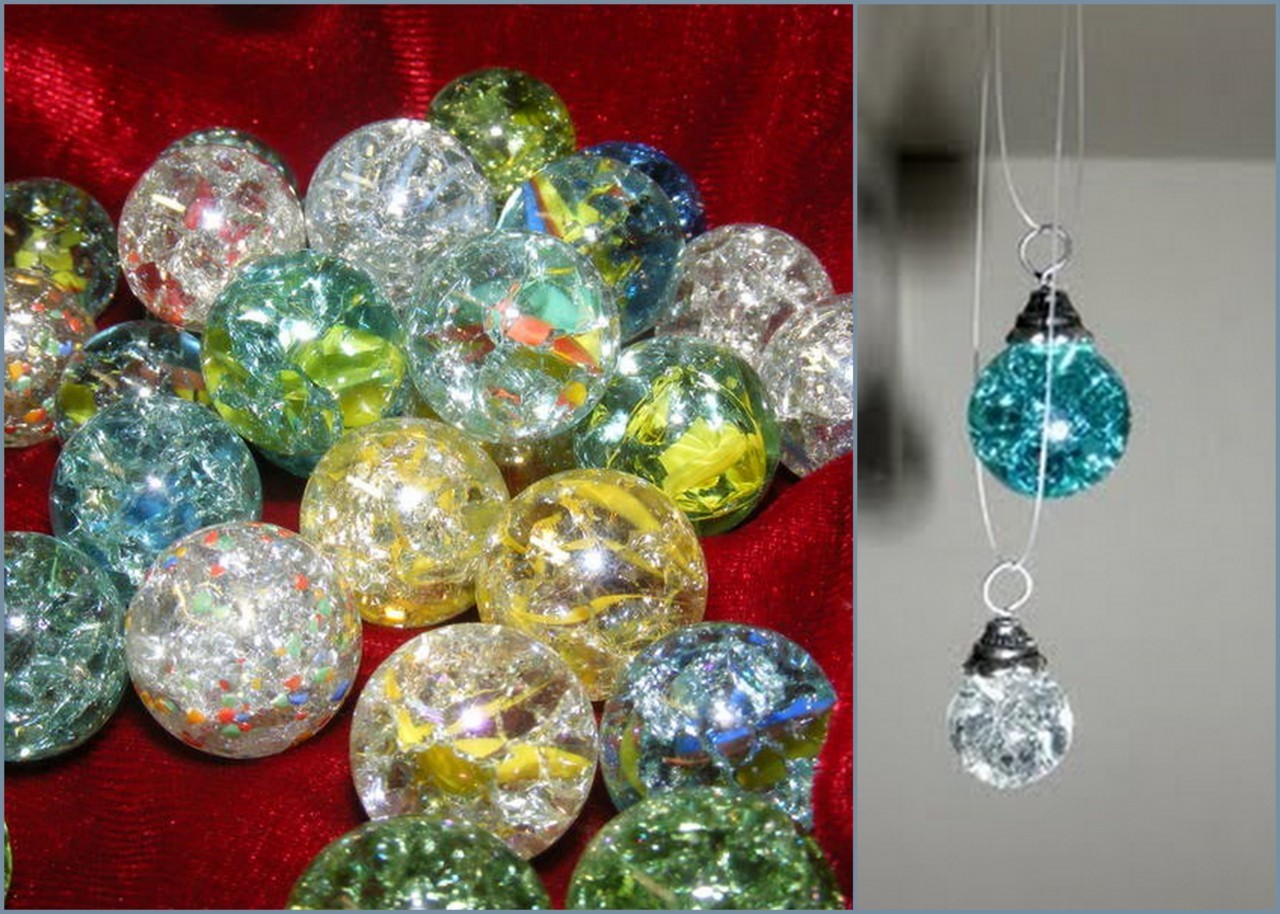
DIY 2 Cracked Marble Tutorials to use in Jewelry. The one on the left I posted ages ago here, from C
DIY 2 Cracked Marble Tutorials to use in Jewelry. The one on the left I posted ages ago here, from Craftster Contributor allyinthevalley. Tutorial here. Her method:Put your clear marbles (It’s useless to use solid colored ones. You can’t see the cracks on the inside.) in a pie pan. Bake them in a preheated 500 degree (farenheit) oven for about 20 minutes. There’s no need to go over 20 minutes, though it doesn’t hurt them. I tried different times and any left in for over 20 minutes all look the same. Have a metal bowl with ice cold water ready. Remove your marbles and immediately dump them into the water. The marbles crack, you ooo and ahh, and you’re done!Second Tutorial (photo on right) found through Dollar Store Crafts on Facebook (mentioned because in the craftster comments someone used the flat marbles available at Dollar Store - a great alternative to marbles). By trickygirlb at Craftster here. Her method here:It’s really quite easy the best method I found for getting the most cracks is to bake the marbles on a cookie sheet at about 325 - 350 for 20 minutes, as soon as you take them out of the oven put them in a metal bowl or sink of cold water and ice. I used plain marbles usually found in the floral department of crafting stores. Any colored marble will work as long as it is translucent, the marbles that are fully colored like toy marbles are kind of useless because the cracks won’t show up. This also works with glass stones. I am not sure how the outer part does not crack, I suppose the way they are made and density, etc. Anyway, the result is lovely. -- source link
#diy#crafts#jewelry#marbles#wire wrapped#fried marlbes#glass#dollar store#diy jewelry#wire#necklace#pendant
