caffeinatedcrafting:Worbla SmoothingContinuing the series of short worbla tutorials, now that you ha
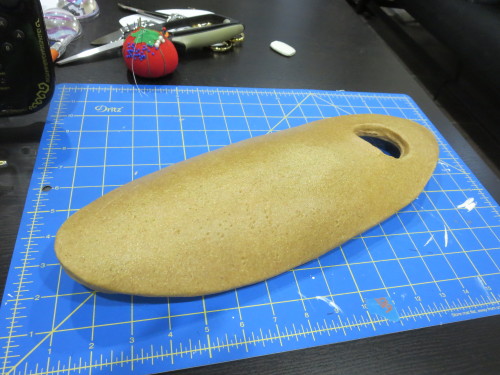
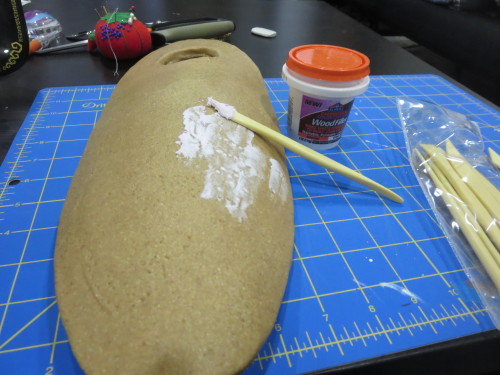
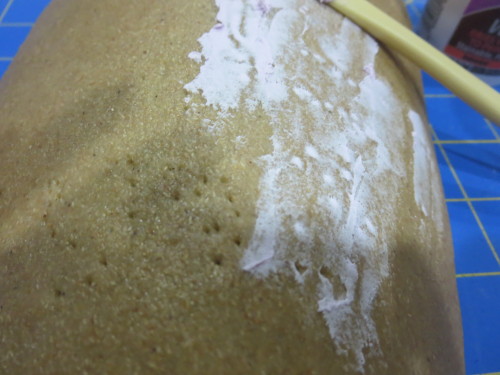
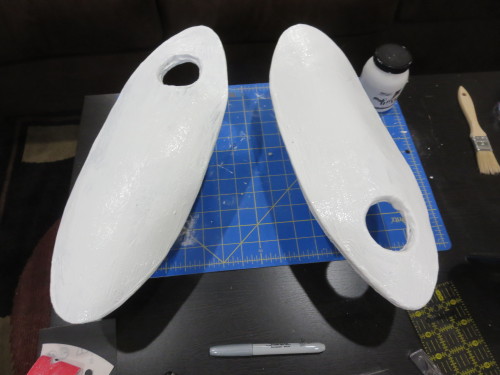
caffeinatedcrafting:Worbla SmoothingContinuing the series of short worbla tutorials, now that you have your piece together and the air bubbles all removed, its time to smooth out your piece, which likely has its share of little needle holes, pits, and uneven parts.Get yourself a set of clay sculpting tools and a tub of wood filler puttyUse the tools to fill all your little holes in, drag the filler across the worbla using the clay tools, all the bits that it is filling in should stand out easily.If you require more filler on larger areas, use your fingers.Its totally ok to go overboard you will be sanding this downOnce you’re satisfied sand down the excess with some medium sandpaper, it should come off fairly easilyApply multiple coats of gesso and sand with a light/fine sandpaper.Start prepping for painting!Optional - You can also use shellac after the gesso to fill in very tiny imperfectionsProbably the biggest hangups you will run into are getting the wood filler right, especially if you use large amounts it can tend to have bubbles inside of it, if things aren’t even you can always lay more on and re-sand.Other Quick Worbla Tutorials:Application to FoamRemoving Air Bubbles -- source link
#cosplay tutorials#worbla


