hqcreations:Our DIY Chicken Coop aka “The House of Bantam”Here it is…our custom designed and self-bu
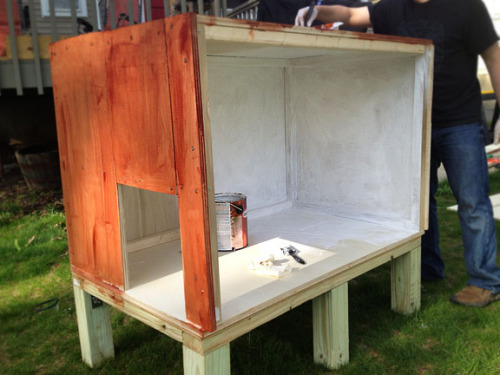
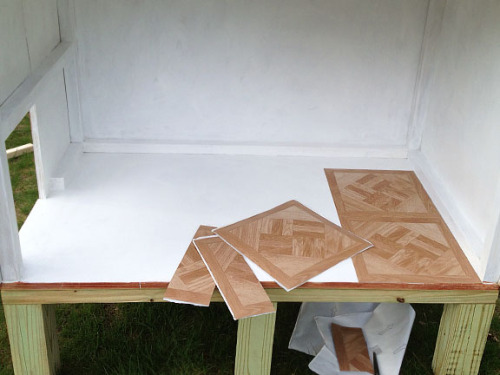
hqcreations:Our DIY Chicken Coop aka “The House of Bantam”Here it is…our custom designed and self-built chicken coop (and chicken run, which I will cover in a separate post). Slow clap?Obviously the Hubs and I are not trained carpenters and neither of us tackled anything this complex before. We made soooo many mistakes, ripped sooo much skin tissue, and we loved every moment of it. The whole project ran up about $400+ (which included some new tools we had to buy). Judging from what we have to pay for a new coop, this didn’t seem too bad.LOCATION: To optimize space in our tiny yard, we decided to fit the coop under the deck. This will provide extra protection and hopefully better temperature control from the elements.DESIGN: We first created a six post base with pressure treated wood. This base will hopefully prevent intruders from digging in AND reduce weathering damage on the raw poplar. We built a two door system: one to open up the coop for aeration and ease of cleaning. The other smaller one to access the nesting area without disrupting the the girls too much. We don’t have windows, but drilled holes along the top. There’s a third door on the side that leads to the run; we operate that with a simply rope and pulley system.PAINT: Deck waterproofing paint on the outside and acrylic exterior formulated white paint on the inside. I don’t wanna hear no sass about our paint job…the birds are going to shit in it anyway, so we’re going with “rustic” IMPASTO techniques here ;-pFLOORING: The easiest thing I found were these 12in x 12in self-adhesive linoleum panels. They are super cheap and relatively easy to apply and shape with scissors.So…not too shabby? -- source link


